How To Create a Mood Board
Whenever I post a photo of one of my mood boards on Instagram I make a mental note to write a blog post about how I do it, I’m finally getting around to writing it! My mood boards always seem to go down really well (probably because they’re a real life version of Pinterest) and I find them so relaxing to make as well as a good creative exercise. I hope you find this how-to useful!
Some of you may call these vision boards but I refer to them as mood boards, because they do just that - they reflect my current creative mood. Quite often I feel overwhelmed with all the ideas in my head, when this happens I sit down for an hour, go through all my magazines and cut out anything that speaks to me. I’ll usually spot a theme quite early on which seems to match up with what’s in my head and what I’m feeling inspired by.
It’s such a relaxing process and one that I think all creative people could benefit from, lets get going!
What you Need
Scissors
Magazines
Glue
A selection of tapes
Ribbon and other pretty bits
Natural elements like dried flowers
Plain paper
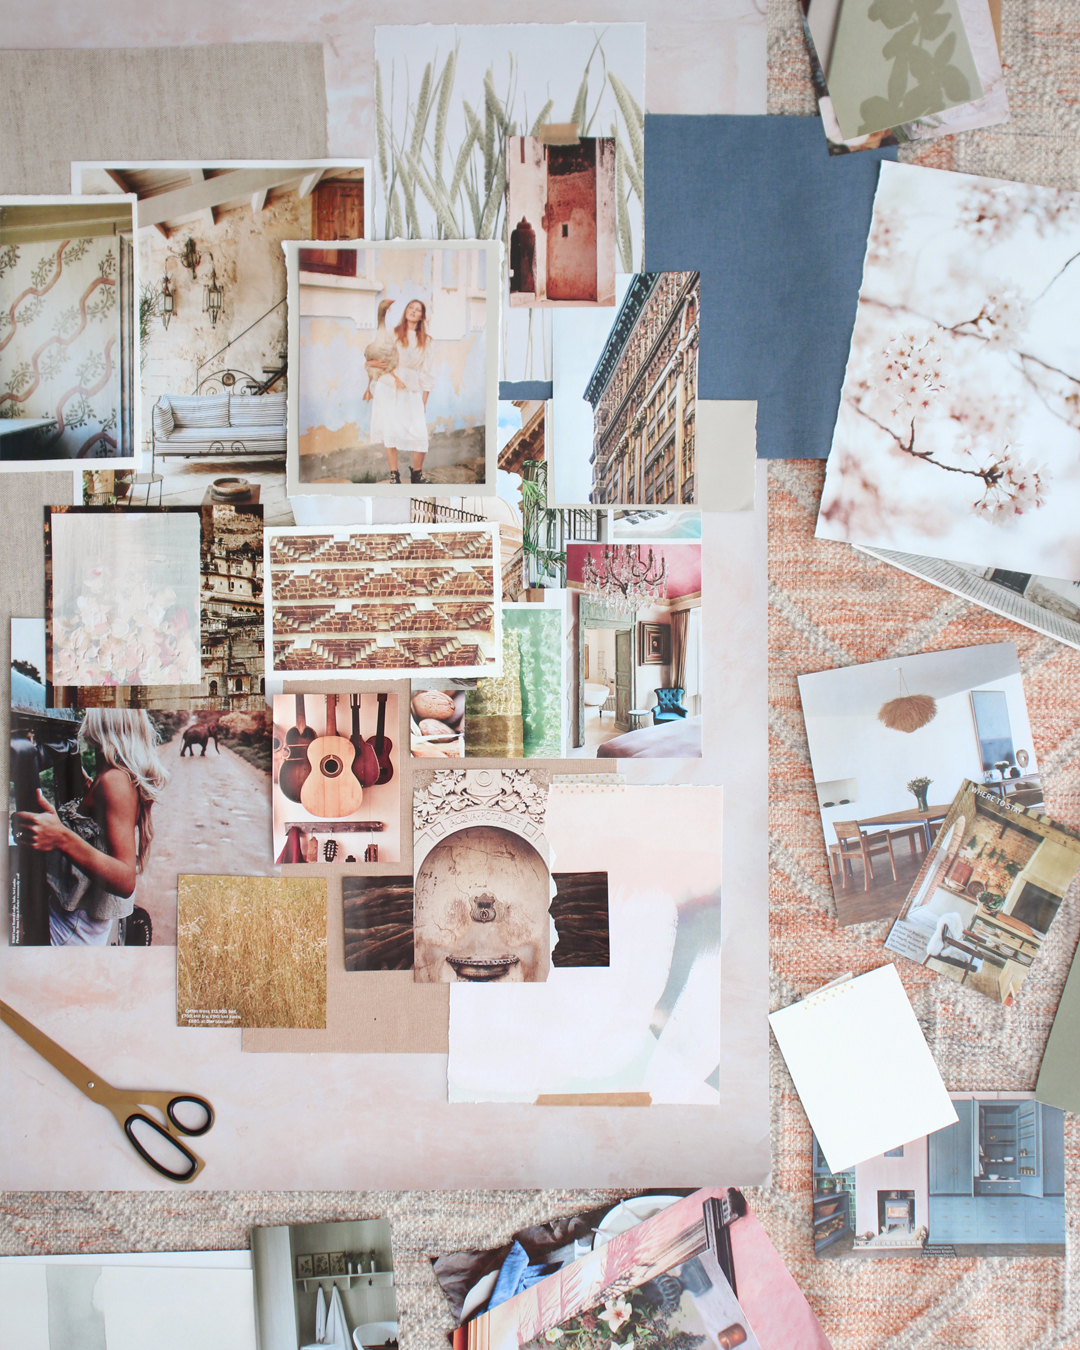
A background - I usually use my wall or a large sheet of paper
Gather your Materials
We all look at our screen far too much so for today get off Pinterest and gather up all the magazines you have laying around. We wont be printing anything off your computer, this is a non digital time!
Look through all your mags and cut out anything that speaks to you, what have you been inspired by recently? Travel? Food? Interiors? Cut it all out and make a pile
Time to Sort
Make piles of things that have similar colours, patterns or themes. If there’s one image that you particularly love, make that the focal point and work from there. You’ll soon have a few piles of images you can draw from to make your board.
Lay Down the Background
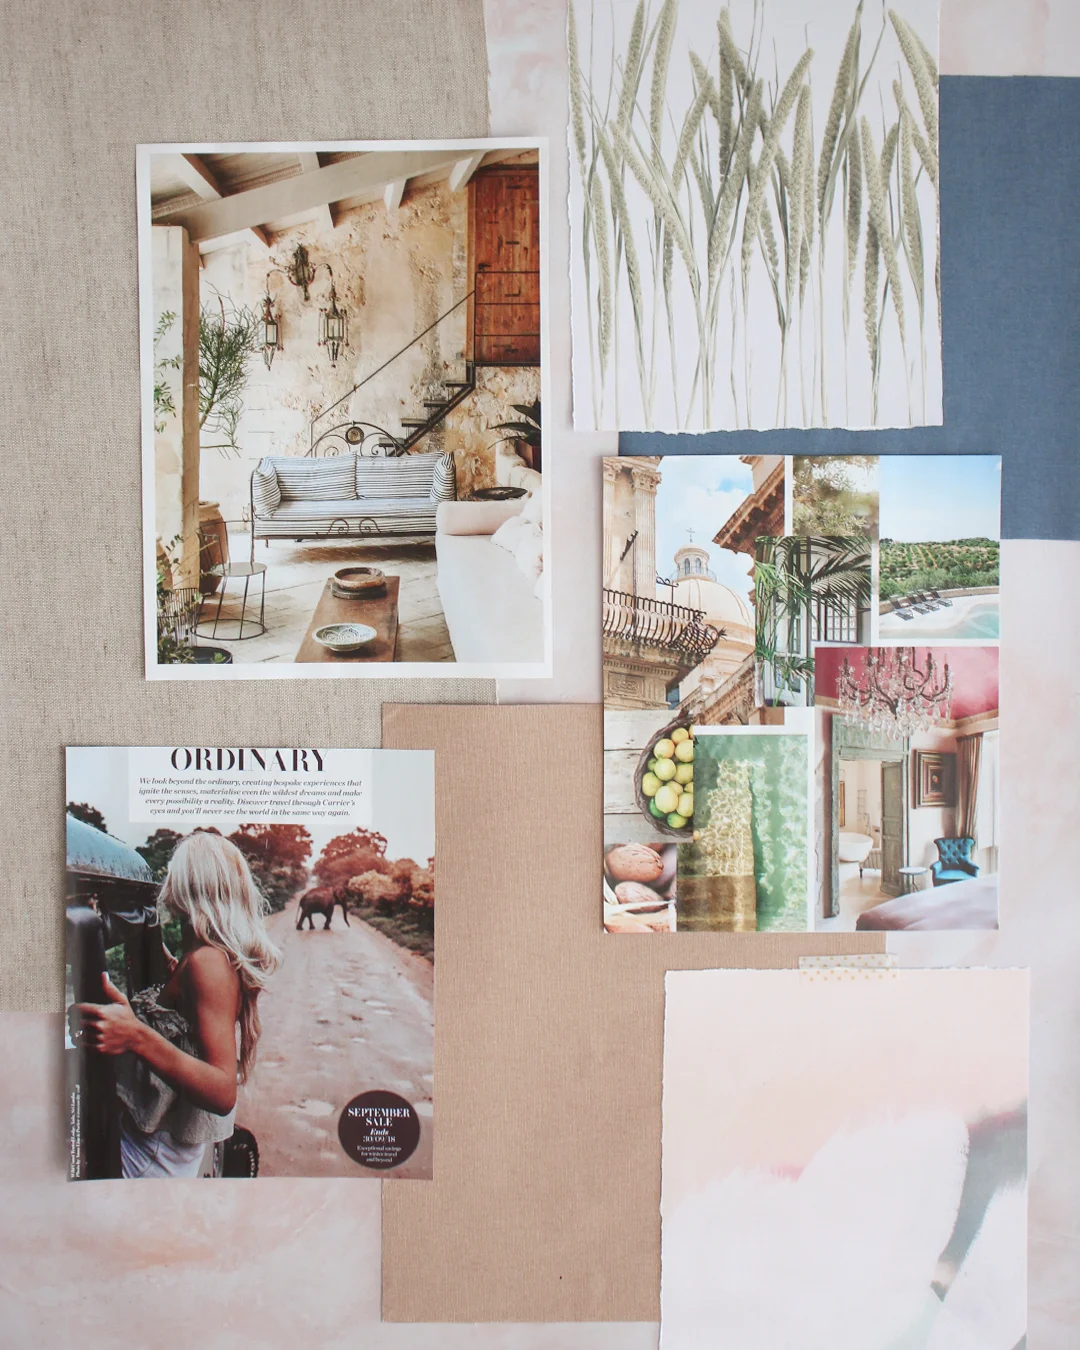
For this board I used a pink plaster photo backdrop from Capture by Lucy as the base. I then layered down textured paper which suited the colour theme of the images I had chosen. Lay these down first to form the background, it’s very likely that most of this will be covered so don’t worry too much about how they look.
Pick Out the Largest Images
Lay down the largest images on top of the background, this will make the smaller ones stand out more as they won’t be covered up so much. Try to place them down as evenly as possible and choose images that compliment each other if you can.
Add Smaller Images
Now it’s time to add all the other, smaller images to your mood board. Begin laying them down casually at first, you don’t have to commit to anything just yet. Have a play around and see what looks good.
For images that blended in too much with the background I created torn paper mounts for them to sit on. This made sure they shoot out a little more.
The Pretty Bits!
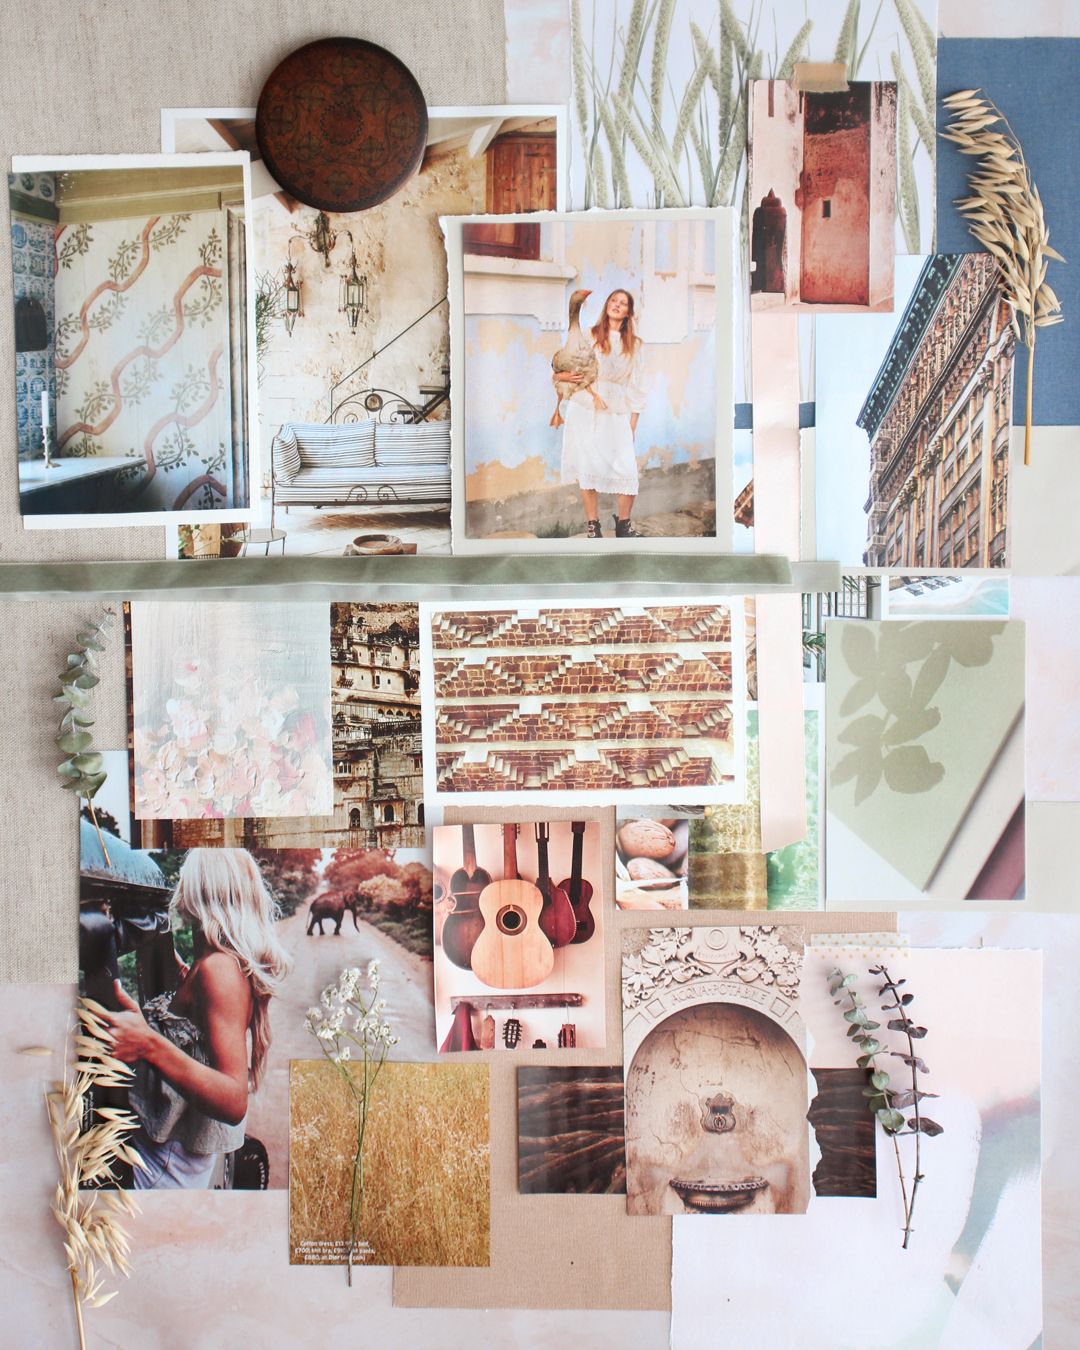
The final stage is to add in any pretty props you may have around your home. Make sure these compliment your board, don’t just add them in for the sake of it. You’re creating a vision! I used dry grasses to reflect a photo I used of a field and the lid of a wooden box to hint at the global boho theme.
And now you have a gorgeous mood board to help you clear out all the creative fuzz in your brain. I use mood boarding when ever I have a big project coming up or when I feel stressed, they are honestly so fun and relaxing when you get going. I usually completely zone out, it’s a new form of mindfulness!
I can get quite overwhelmed scrolling through blogs, Pinterest or Instagram for inspiration so sometimes its lovely to sit quietly and create a physical vision board like this.
I really hope you enjoyed this post, don’t forget to follow me on Instagram to see more of my inspiration boards as well as my other creative work. www.instagram.com/nancy_straughan
Hi I'm Nancy!
Thanks for stopping by, I hope you enjoyed the post. Make sure to drop by regularly for interior, style and travel inspiration as well as stories from my from daily life.


